Good morning, AMEPGADGET readers — it's August 21, 2025. If you’ve been using your phone or laptop as a smart-home dashboard, today’s a great day to give one of your walls a proper job. Seeed Studio published a handy guide this morning on Home Assistant display options, and it’s a reminder that adding a permanent control screen is easier and cheaper than you might think.

Why add a Home Assistant display?
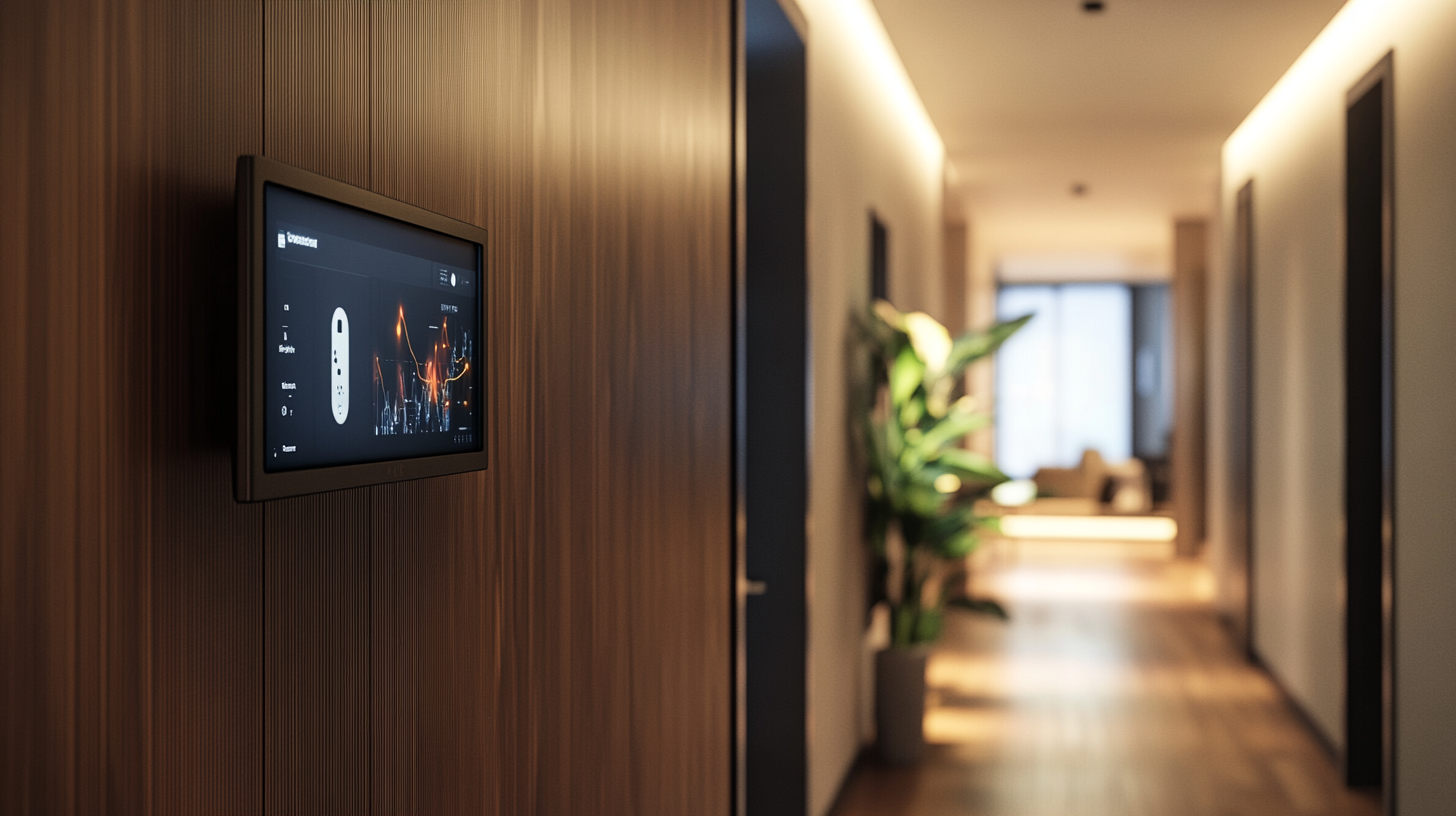
A dedicated display gives you glanceable info and quick controls: weather, family calendar, energy use, camera feeds and one‑tap scenes. It removes the friction of unlocking a phone and hunting through apps — the dashboard is always there, where the family actually walks by.
Display types — pick the right tech
- E‑Ink (electronic paper) — ultra low power and readable in daylight. Best for always‑on info: schedules, calendar, energy stats. E‑ink is slow to update but excellent for low-power spots like entryways.
- LCD (IPS) — affordable, bright, and responsive. Great for interactive control panels and wall mounts where you want color and touch.
- OLED — premium look with deep blacks and vivid colors. Choose OLED if you want a living‑room centerpiece for camera feeds and crisp visuals.
Touch vs. passive displays
Decide whether the screen will be primarily for information (passive) or for interaction (control). Passive panels (e‑ink, small LCD) are cheaper and can run on batteries; interactive screens (touch LCD/OLED) are better for hub‑ style control, scenes and manual device management.
Where to mount it and power considerations
- Placement: Hallway, kitchen, or entryway are top picks — spots you pass daily.
- Power: If possible, use a hidden outlet or run a USB power line. E‑ink options can be battery powered for months; touch panels usually need continuous power.
- Network: Ensure decent Wi‑Fi or wired Ethernet (PoE adapters are great for clean installs and stable connectivity).
Software & dashboards — keep it simple
Most Home Assistant displays use Lovelace dashboards. For hardware: ESPHome is the easiest route for microcontroller displays (e.g., ESP32 + e‑ink). For Raspberry Pi–class terminals (like reTerminal) run Home Assistant’s web UI in kiosk mode or use the companion app. HACS extensions and prebuilt dashboard templates can get a polished layout fast.
Recommended hardware to consider
- Small & low‑power: 7–9" e‑ink panels — always‑on status, battery friendly, great for entry displays.
- Mid-range touch: Raspberry Pi-based panels (5–10" IPS) with reTerminal-style kits — responsive and relatively cheap to set up.
- Premium: 10"+ IPS or OLED wall terminals — ideal for whole‑home dashboards and camera grids.
Quick weekend install plan (one-hour path)
- Pick your display (e‑ink for status, touch LCD for control).
- Mount the bracket and hide the power cable behind a trim strip or use a visible USB cable for a fast install.
- Flash ESPHome (for ESP32 panels) or enable kiosk mode on Home Assistant for Pi-based screens.
- Create a simple Lovelace view with weather, a few switches and one camera card — keep it tidy and test on the wall.
Five practical tips for a clean dashboard
- Design for quick glanceability — a single weather, one camera, and two most-used switches is often enough.
- Use large fonts and clear icons for hallway or kitchen panels.
- Automate brightness: dim the display at night to avoid glare.
- Keep the dashboard local-first: use local cards where possible so the screen still shows vital info if the cloud goes away.
- Secure it: create a dedicated IoT/guest SSID or VLAN for your display and devices to limit exposure.
Want examples and parts?
If you prefer a step‑by‑step starter, see our detailed guide at https://amepgadget.com/blog/home-assistant-displays-guide, or browse ready kits and touch panels at https://amepgadget.com/shop/home-assistant-displays. For broader ideas on connected rooms, visit our Smart Home Innovations hub.
Final thought
A Home Assistant display is one of the highest‑impact upgrades for a smart home: small cost, big convenience. Pick the technology that fits your use — e‑ink for always‑on info, LCD/OLED touch for interactive control — and you’ll get a tidy command center that the whole household actually uses.
Built one already? Share a photo or your dashboard layout in the comments — we’ll feature reader setups in a follow‑up post.
0 comments